Hello everyone! Are you excited about the new products? I know I am! I just love the Metalline Powders, they have such a gorgeous shine! In this card I created to you with a tutorial I mixed some of the newbies to some of the oldies and I really like how the card turned out!
For the blooms I used the "Metalline Perfect Plum" and "Primary Parma Violet" as well as Melt-It Powder. For the background I used both "Metalline Greengage" and "Hero" embossing glitter together with gel medium. And do you know what I learned? That if you really quickly show the heat tool to the Melt-It shapes, you get the shine back! But do you want to know just how I made the card? Please see the tutorial below!
Step 1. I started by making the embellishments. I used the "Metalline Perfect Plum" and "Primary Parma Violet" for the colors and mixed them with the Melt-It Powder. The mold is "Pansy". I also made some little drops which I then later used as embellishments. Just let the melted powder drop to the non-stick craft sheet and voilá, you have half pearls of your own.
Step 2. I started making the background for the main composition using acrylic paint. I added some to the piece of patterned paper and spread it using a silicone brush. I also added some splashes of paint in there and then let the piece dry.
Step 3. Next I added a Metalline layer to the background using the Wow embossing ink, a stencil and "Metalline Greengage" powder. Where the powder is on white, you can see the color and on top of the green it creates an awesome shine!
Step 4. Using another stencil I added 3D Gel aka gel medium to the background and while it was still sticky, coated the whole pattern with "Hero" embossing glitter and then embossed it. This boils the gel underneath so the outlook is puffy sticker styled with rounded edges and raised effect.
Step 5. Next I started to make the main composition using the same 3D gel as my adhesive. I layered some paper leaves to the bottom of the cluster and then added some chipboard leaves on top. These I embossed with "Rose Gold".
Step 6. I finished the composition with the Mel-It flowers and a paper rose. First I thought about adding the all three Melt-It flowers to the card but it seemed a bit too much so I went with two plus the smaller paper one. This also adds a bit of light to the otherwise dark cluster.
Step 7. For the sentiment I used one from the "Wild About You" set. I stamped it to a piece of same paper I used as the background. Then I cut it to the shape of a little banner and added to the card.
Step 8. I finished the card with some patterned papers, cut bigger than the piece I had been working on and layered all of those on top. Then I added a couple of the drops I made in the beginning here and there.
There you have it - a card using something new and something old and a lot of layers! I hope you were inspired by this! Thank you for stopping by today! Have a wonderful day!
xoxo Riikka
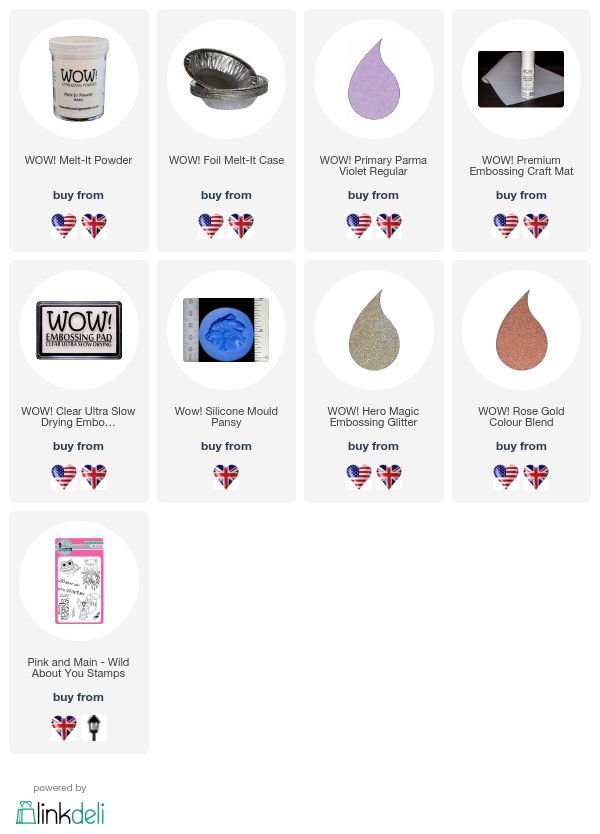
Materials from Wow Embossing Powder:


This is extremely pretty Riikka and the flowers made with the Melt It and the plum and parma violet look great with the leaves and the softer coloured paper flower, and the rich green for the background works well. x
ReplyDeleteThank you so much, Pat!
Delete