I hope you are all well. In today's post I'm going to show you how to create a card background using multi colour embossing technique ie. using a selection of powders on one project.
Step 1: I used a page out of an old book page for backing paper and then applied a 3D texture gel through a stencil with a palette knife tool. You could also use a heavy (thick) acrylic paint. This creates texture and gives a sticky surface for the embossing powders to stick to.
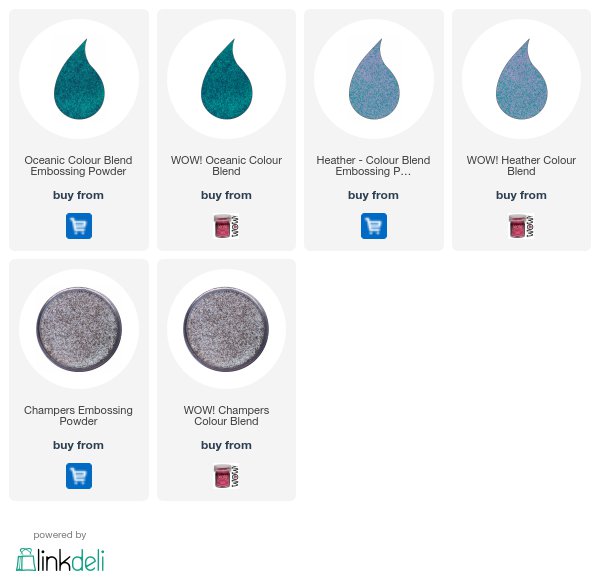
Step 2: I added pinches of three different embossing powders ; Heather, Oceanic and Champers, into the wet gel.
Step 3: I moved the paper around to enable the powders to cover the gel then shook any excess powder off.
Step 4: To melt the powders I used a heat tool which also helps to dry the gel .
To finish off, I inked the edges and areas on the paper with black and blue ink pads, added die cut stars, trim, alpha stickers and highlighted around the card with a white pen.
Thanks for reading and stay creative!
Fran xx
Sadly this is Fran's last post with us, over the last 18 months she's shared some fabulous projects, I'm sure you'll agree, and we want to thank her from the bottom of our hearts for her amazing creativity with our products.
Good luck in all you do Fran and THANK YOU xx
Sadly this is Fran's last post with us, over the last 18 months she's shared some fabulous projects, I'm sure you'll agree, and we want to thank her from the bottom of our hearts for her amazing creativity with our products.
Good luck in all you do Fran and THANK YOU xx
SUPPLIES USED : For your convenience I've listed the WOW! items used in this FAB project.


Fabulous inspiration and love how you did the heat embossing with the paste on the background and how in parts you can still see through the paste. Great elements and love this project, thank you x
ReplyDeleteThank you! Glad you enjoyed the tutorial x
DeleteA very pretty mixture of embossing powders Fran and a great distressed look for this wonderful card. x
ReplyDeleteGorgeous! Thanks for the great tutorial!
ReplyDelete